


I’ve used Elementor Pro for 10 years and still love it. Here’s my honest take on why it’s stood the test of time.
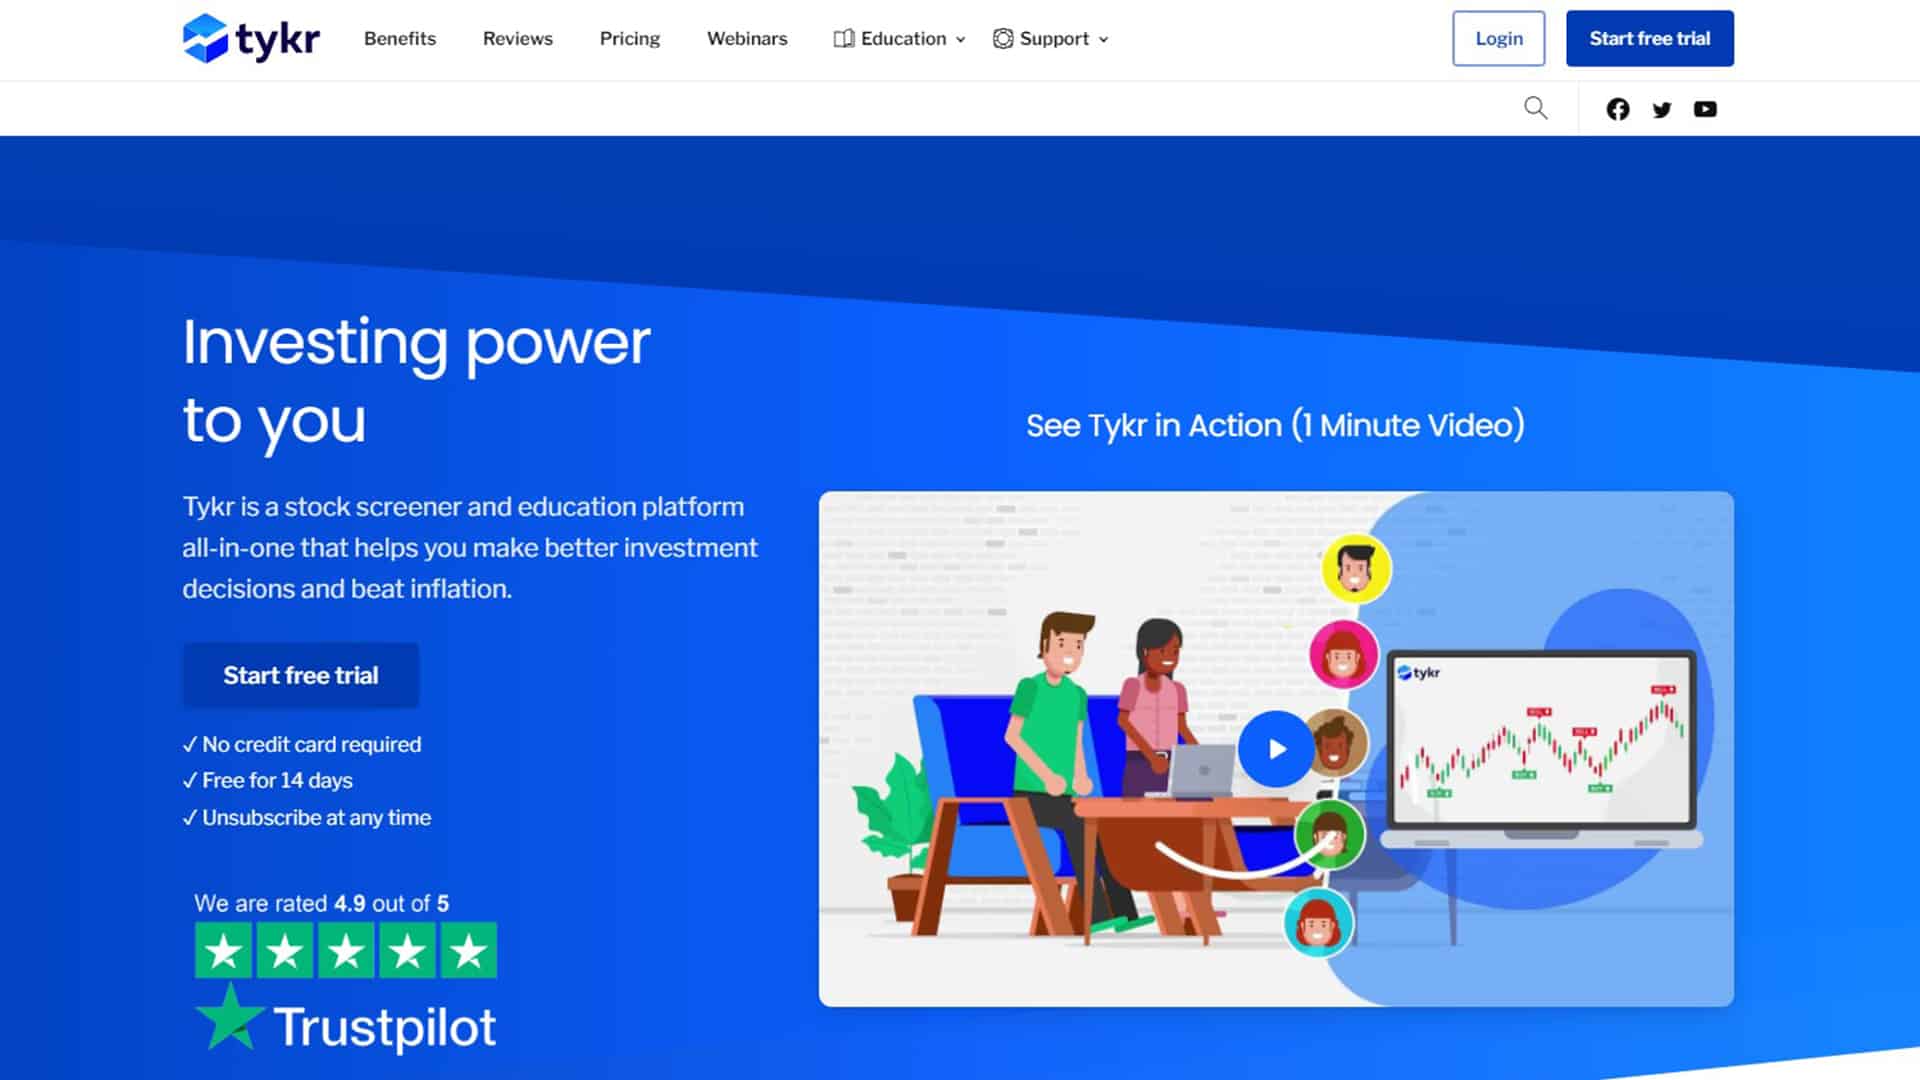
I’m a big believer that investing is one of the best things you can do to grow your net worth. It’s also one of the most important things you can do if you want to create a legacy for yourself and your family. The problem is, when you invest your money, you’re putting yourself at
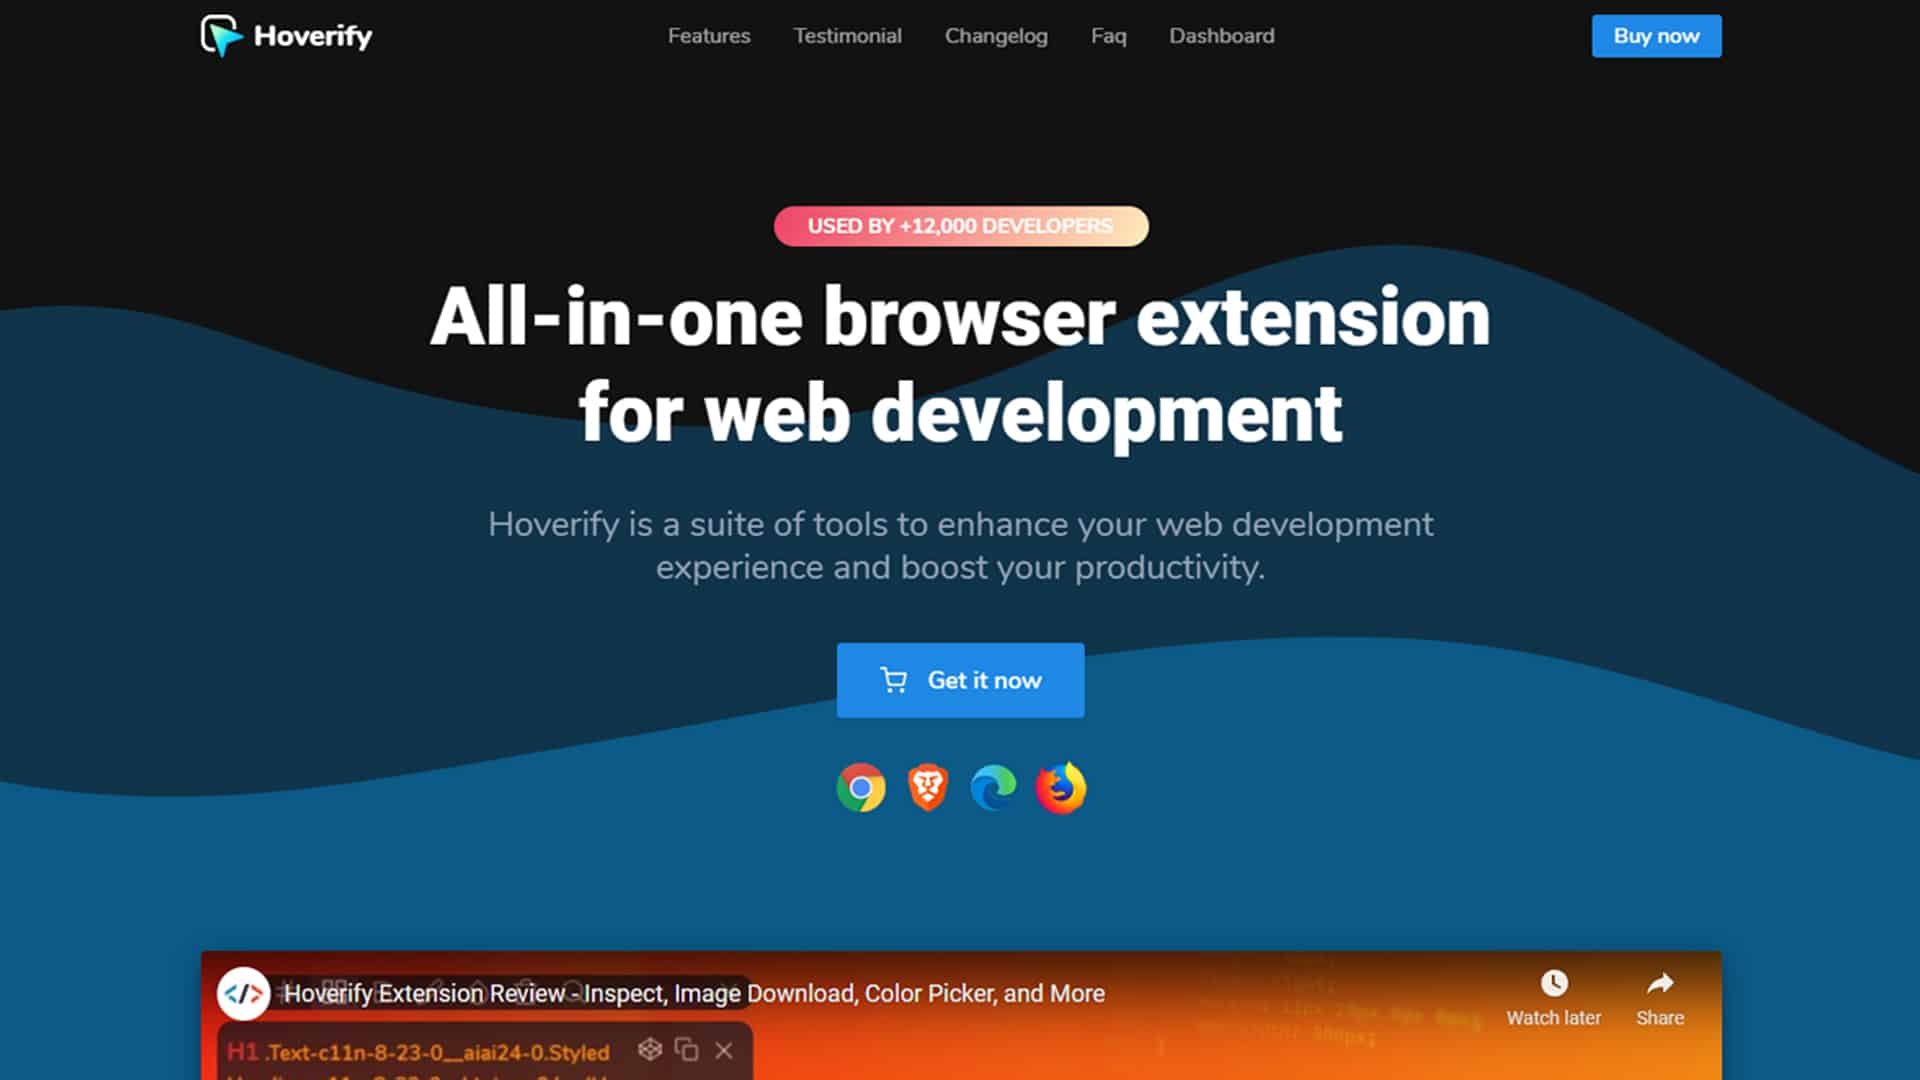
Hi everyone, today I will like to share with you a tool that I uses almost daily for my web development work. Check out Hoverify, an all-in-one browser extension for web developers and designers. Created to streamline your daily workflow and development processes. What is Hoverify? Hoverify is a add-on/extension that is compatible with Chrome,